Creating a new Rails application is simple enough. Just run rails new and a
new functioning application, including its root directory and all necessary
files are automatically generated for me.
But sometimes I want a little more control on what kind of libraries to use. What if I need to use one specific version of Ruby? And what if I want to use the latest version of Rails instead of the one already installed on my system?
This article shows the steps I take when creating a new Rails application,
before running rails new so I can configure my application just the way I want
it.
1. Create a new application directory
I like to start a new application by manually creating a new directory on my development computer. I then move inside the directory and create the necessary files inside of it.
In this example, the app is called my-app.
$ mkdir my-app

$ cd my-app
2. Set local version of Ruby
When I am inside the root directory I can go ahead and verify which versions
of Ruby I have available on my system.
Since I use asdf as a version manager,
I list the Ruby versions on my computer with asdf list ruby:
$ asdf list ruby
  2.6.7
 *3.2.2
This tells me that I have two versions of Ruby installed: 2.6.7 and 3.2.2.
The asterisk * marks the currently active version, 3.2.2.
At this point I can decide if the current version is good enough for me or if I
want a different one.
If I want a more recent Ruby, I can install it with this command:
$ asdf install ruby 3.3.0
For the purposes of this article, I will use Ruby 3.2.2, so I set the local desired version for this particular application with this command:
$ asdf local ruby 3.2.2
This will create a .tool-versions file inside the current directory specifying which
Ruby to use:
# .tool-versions

ruby 3.2.2
3. Add Gemfile
Once Ruby is specified, the next step is to choose the Rails version for the new application.
I start off by adding a new Gemfile in the root directory, so I can specify
the exact Rails version to use, and let Bundler take care of the installation.
The simplest way to generate a Gemfile is with:
$ bundle init
This will generate a Gemfile inside the directory with content similar to this:
# Gemfile

# frozen_string_literal: true

source "https://rubygems.org"

# gem "rails"
The gem "rails" entry is commented out as an example.
4. Install latest version of Rails
To find the latest version of Rails I can look at the Ruby on Rails
homepage. Currently it’s 7.1.3.2, so I will use that
for my app.
By default, the line gem "rails" will install the latest version, so I open the Gemfile and uncomment the # gem "rails" line, like so:
# Gemfile

gem "rails"
Then I run bundle install which will take care of installing Rails and all the
required gems.
The command will also generate a Gemfile.lock file to lock all the various gem
versions.
To verify that the desired versions of Ruby and Rails are active, I run these commands:
$ ruby -v
ruby 3.2.2 (2023-03-30 revision e51014f9c0) [x86_64-linux]
$ rails -v
Rails 7.1.3.2
I am now ready to generate the Rails app.
5. Create new Rails app
Now that I have all the desired versions of the libraries, I am finally ready to
create the Rails app with the rails new command.
Since I want the Rails application to be generated inside the current directory,
I pass a . (dot) as the last option on the command line:
$ rails new .
       exist
      create  README.md
      create  Rakefile
      create  .ruby-version
      create  config.ru
      create  .gitignore
      create  .gitattributes
    conflict  Gemfile
Overwrite /home/cesare-mini/Sites/horton-township/Gemfile? (enter "h" for help) [Ynaqdhm]
The rails new script is set to create its own Gemfile, but I already have a
Gemfile in the directory, so the process stops to ask if I want to overwrite it.
That Gemfile was only meant for installing Rails itself, so I don’t need it
anymore. I type y to confirm the overwrite. This will allow rails new to
go ahead and finish setting up the application.
Once the process is finished I can verify that the application works correctly by running:
$ bin/rails server
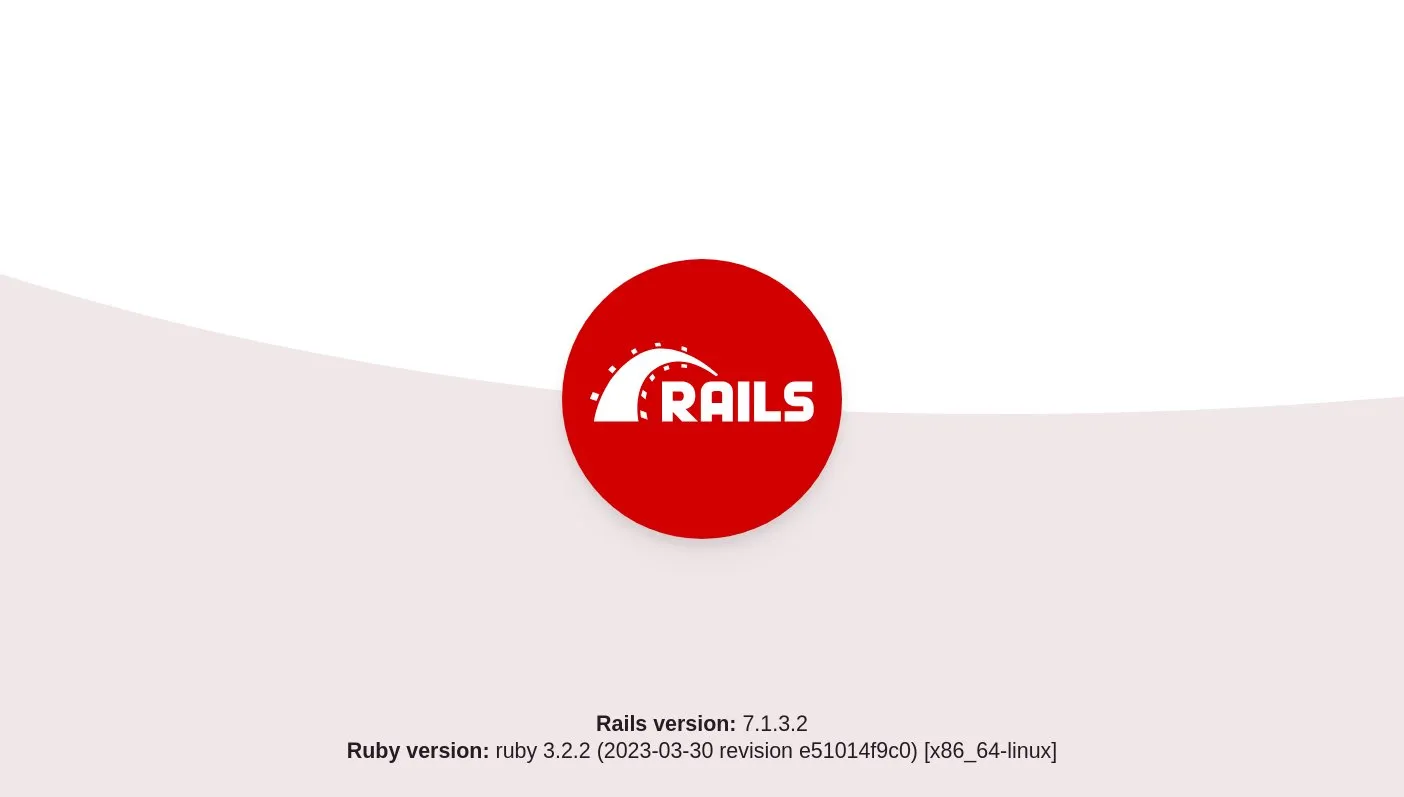
This will start the application on http://localhost:3000 and show the default
Rails welcome screen.

At the bottom of the screen, I can also see the exact software versions used for this application.
Conclusion
In this article we have seen one way in which we can control and specify the exact library versions our Rails application uses.
